 dincer
hepguler robotics page
dincer
hepguler robotics page 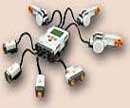 dincer
hepguler robotics page
dincer
hepguler robotics page
- Various projects: Mini CNC, Lidar Scanner, Touch Sensitive Robotic Skin, Telescope Mods, Motor Control With Brain Waves, Motorized TimeLapse Rig, Mini IOT Remote, Bat Sonar, Airflow Sensor, Doppler Radar
it was the late 80s and early 90s when i fall in love with robotics... the concept was new and resources were scarse. my first robot was something inside a loudspeaker box, two gear motors salvaged from junkyard, two 12v motorcycle lead acid batteries and some lousy electronics which can let the robot reverse when it encounteres an obstrtuction. i had a vic20 computer which commands the robot via 8channel (4input-4output) rf interface.
Vic20 was the first Apple pc with 20kb (not Megabytes) of memory running on DOS, very slow (1kz) and very incompetent... after years computers evolved and i gained experience. when 2000s came i had the opportunity to work with Lego Mindstorms RCX and nowadays with NXT. amateur robotics exploded with the use of microprocessors and i gained experience with Arduino, a small microcomputer which is used to control inputs from sensors and can command outputs ( electronics, servos and motors) with software programs...
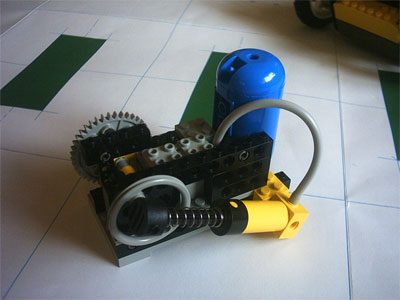 |
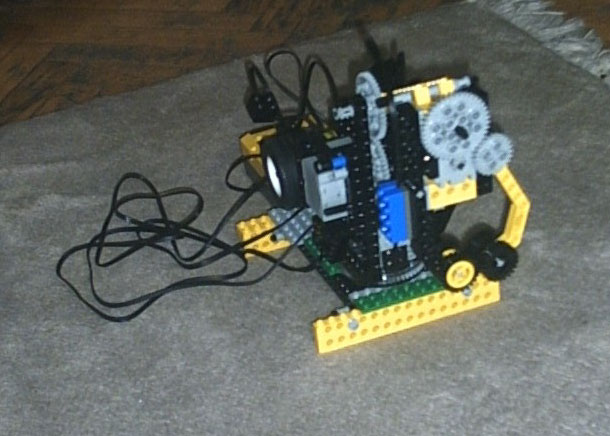
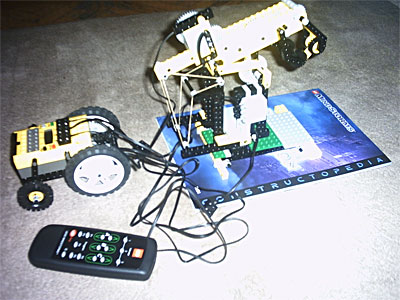
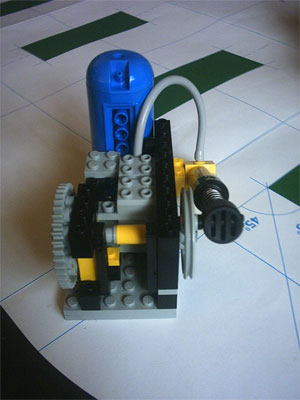
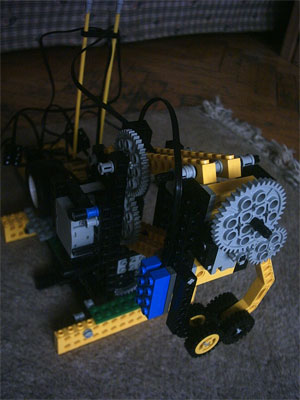
here you can see my previous Lego RCX constructions, left is an air kompressor, right is my intelligent servo-pneumatic robotic hand, below is another robotic hand remote controlled with gripper. furhther below is 2 sumo robots. | 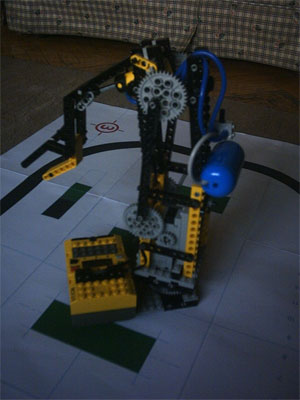 |
 |
  |
 |
 |
 |
 |
 |
During the past years my robots evolved from a lousy
loudspeaker-box robot controlled by vic20 to a lego-nxt tribot which is
controlled by my laptop via bluetooth... :)
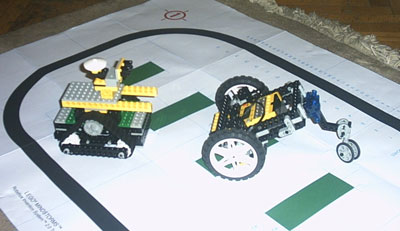
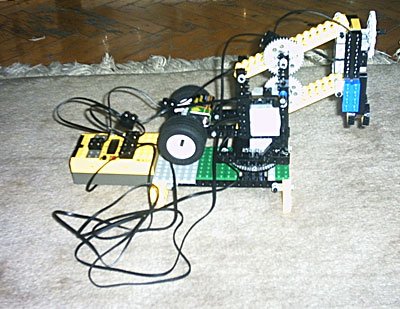
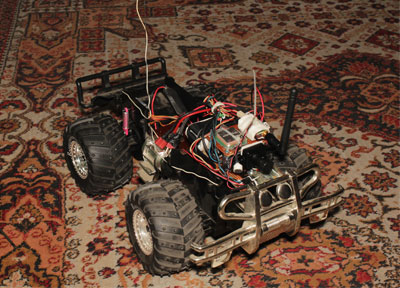
Left is my lego bot which can move around by its own avoiding obstacles and right is a more complicated rover with autopilot, gps, wireless camera and telemetry... |
 |
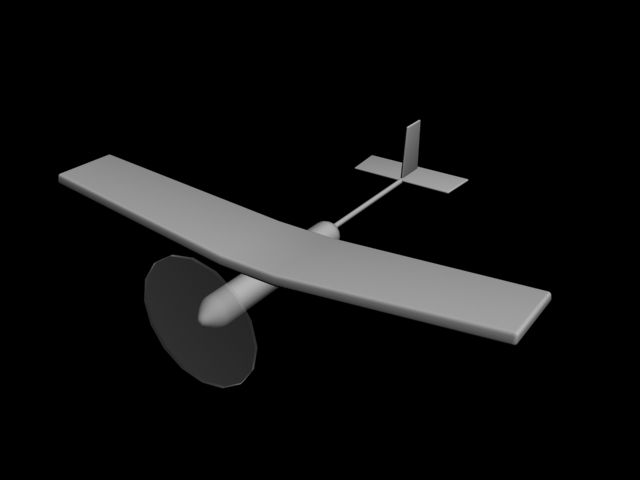
after making many robots wandering around my house, i decided to make one which can wander around the skies freely. UAV stands for Unmanned Airborne Vehicle which implies a robot flying by itself... since some couple of years i am trying to make one from scratch... the project is not easy, it consists of an airborn vehicle which can fly steadily, can be commanded from ground by you, can take some decisions at its own during the flight, must know its orientation as to which way to go, where on earth it is, where is ground and where is north etc... as an hobbyist i sure have an rc aircraft to begin with... the name of my UAV is Gündoğan ( Solar Falcon)...
here is the plan: make an aircraft which can steadily fly...
furnish it with a microcomputer and sensors to interact with environment...
give him enough energy to survive for long periods of time on the air...
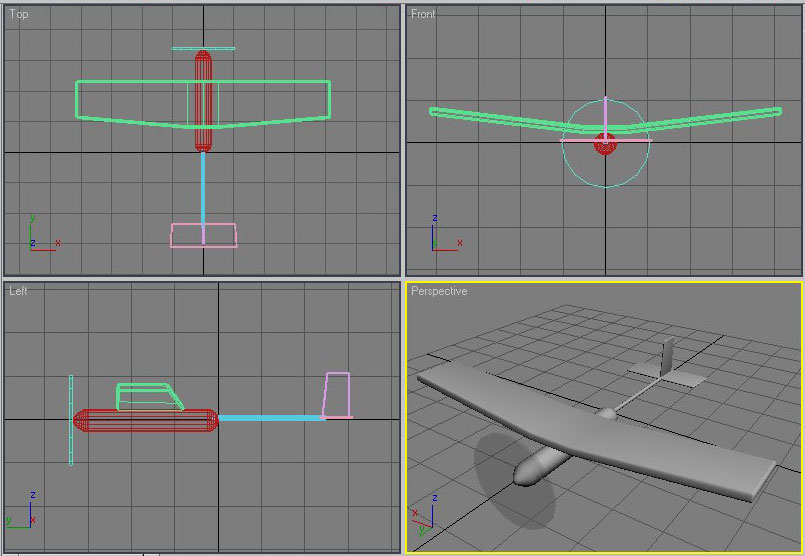
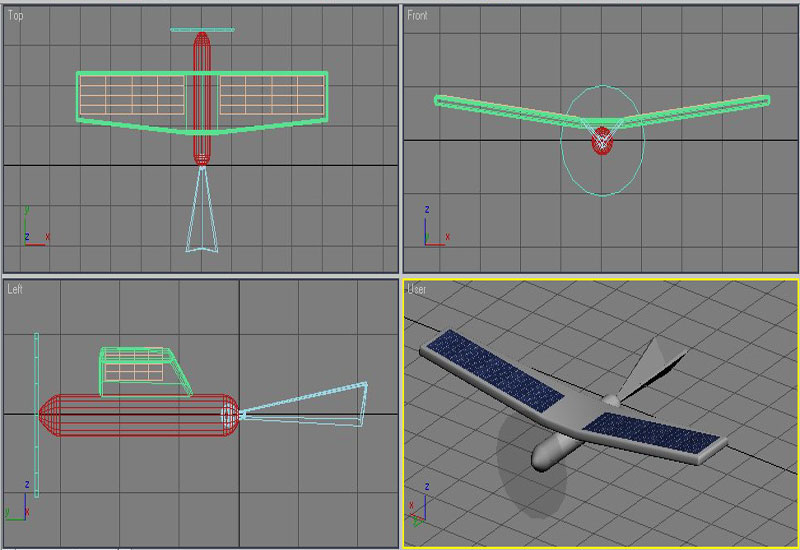
in order to reach these goals, i had to work hard and made some experiments. i began with my rc slowflyer but soon i realized that it was insuficcient for the task. i had to make a bigger plane with larger wings, because my small glider was not suitable for carrying all the extra powerbank and computational resources. i needed a gps navigation autopilot and accelometer enabled flight stabilisation. all these electronics and navigation needed extra power and this meant bigger batteries. so i decided to make the plane run on solar power which will backup and charge airborne batteries. the design is simple. the aircraft will be as simple as possible with large wings, very lightweight and versatile. here is the design..
|
|
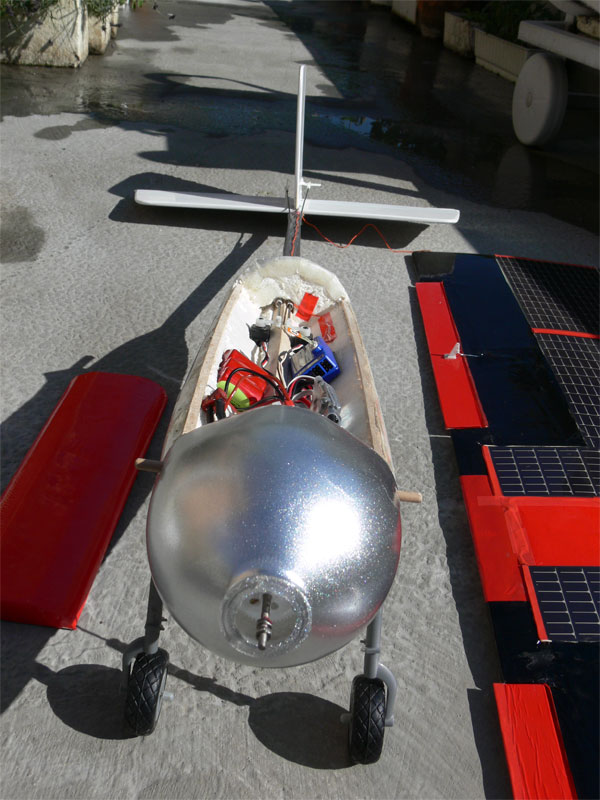
the wings and the body is made of foam which will let me to place all elecronics safely. front part of the body will be covered with pvc (possibly a beverage bottle) which will enable me to place a wireless camera (bought from Range Video) in front. |
|
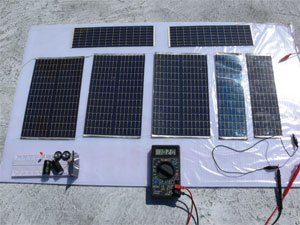
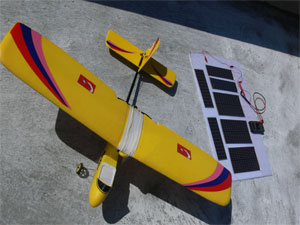
May 2008: my test platform is my 3 channel dragonfly slowflyer. i acquired some flexible solar panels from Iowa Tech Powerfilm which performed exceptionally. i decided to use five 10v 250ma panels which gave me more than 1 amps total for my 400 brushed motor on my slowflyer. actually, the final uav will have 2meter wings which will easily carry the 5 solar panels (100gm total) and it will also be powered by a more powerful brushless motor. in order to regulate the power output i used a simple circuitry comprised of a bank of farad capacitors and a schottky diode. after completing the power needs of the aircraft i concentrated on stabilizing electronics. i used a wii nunchuck accelerometer for the purpose. with some experimenting and carrying on a research on the web, i managed to read nunchuck accelerometer data with my Arduino microprocessor which will let my aircraft know which way is up. next step was embedding a gps navigation to my project. best way is to add a Picopilot autopilot to my system. this is the simplest and cheapest autopilot i could find on the net made by UNAV. later i am planning to use a Nokia N95 8GB as the 'virtual pilot' of my aircraft which has a 3-axis accelerometer and GPS with sirf III chip inside (whose data can be communicated over serial, bluetooth or USB), it has 2 cameras which can transmit real-time video over GPRS and can also run a program for navigation...
 |
 |
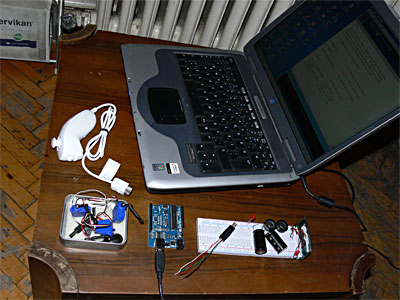 |
here you can see my tiny Arduino microprocessor and nunchuck which will control the little 9gram servos seen in the box. besides the farad capacitors, the little DIY thingy on the breadboard is a small pcb i made as a connector for the nunchuck for testing purposes ( i didn't want to cut its wires immediately, later i will do for sure) |
 |
 |
 |
 |
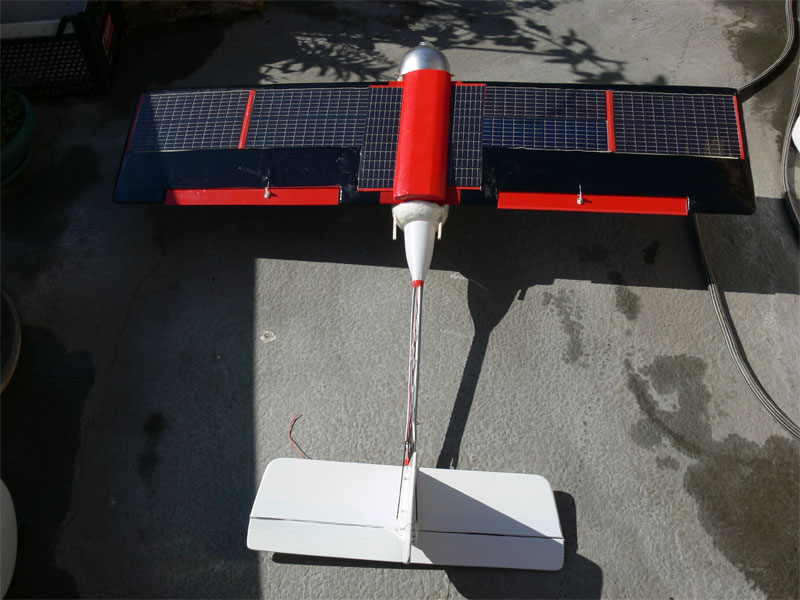
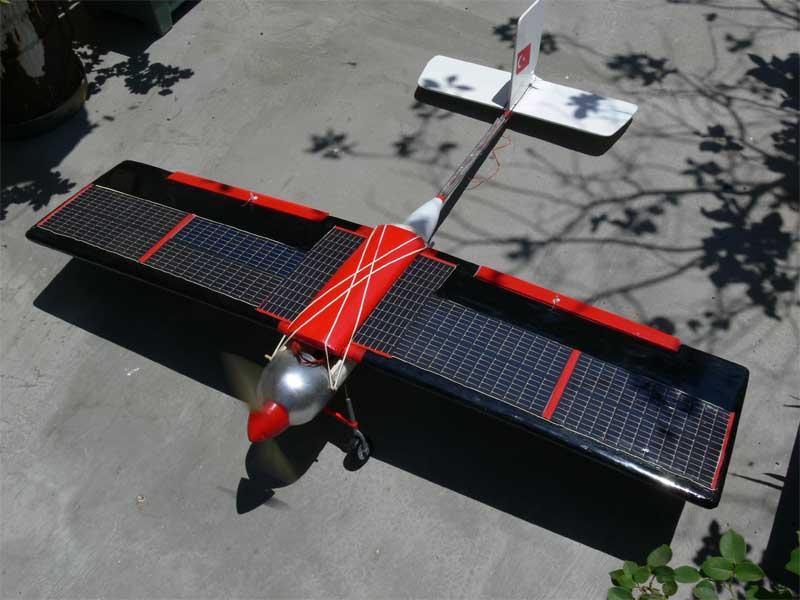
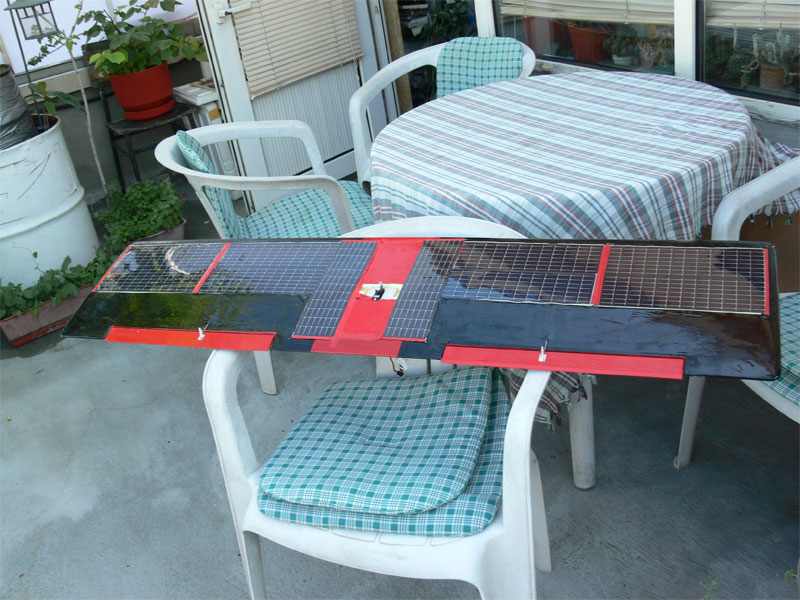
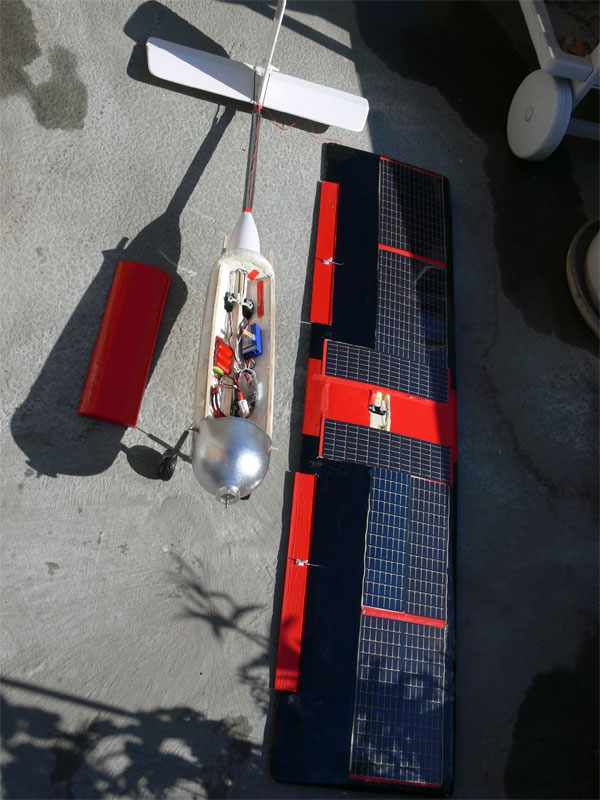
here you see the manufacturing phases of the mainframe and the wing carrying the solar panels. the plane is totally hand made from polystrene foam covered with a pvc beverage bottle, the tail and the bone is balsa covered with Oracover. the nose is also spray painted pvc beverage bottle... |  |
  |
  |
 |
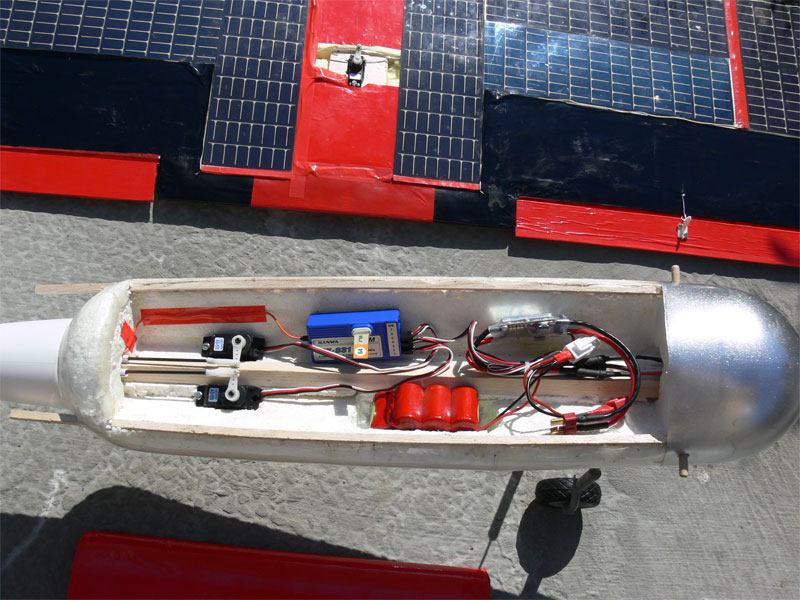
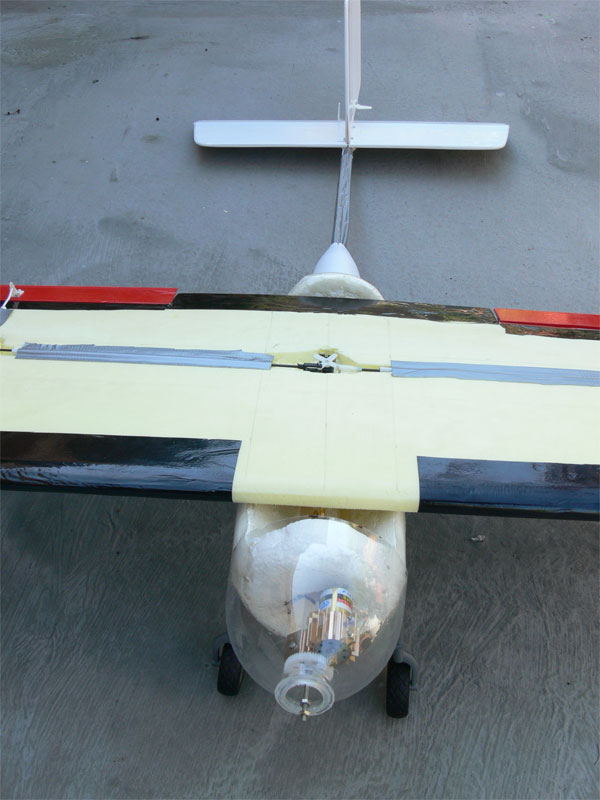
July 2008: Prototype mainframe construction is nearly complete... The equipment: Swan 8 channel RC system (5 of it will be used: rudder, elevator, throttle, ailerons and gear switch for enabling autopilot). 7cell 1100 mah 8,4v nimh battery ( i am planning to add a thermistor or mini thermostat to protect the battery from overcharging by 1,25 amp solar panels on long duration flights). single 9gm servo embedded to the wing to control both ailerons which will be controlled by the autopilot for flight stabilization. two 17gm servos controlling the rudder and the elevator via carbon rods which act inside two pipes extending all the way to tail on the bone stick. 115watt brushless in-runner motor with cooler is controlled by art-tech 18amp esc. ( i have a spare 240w outrunner brushless motor and a 50amp esc in case this motor proves to be insufficient). a 11x5 propeller rotated by a 60mm spinner.
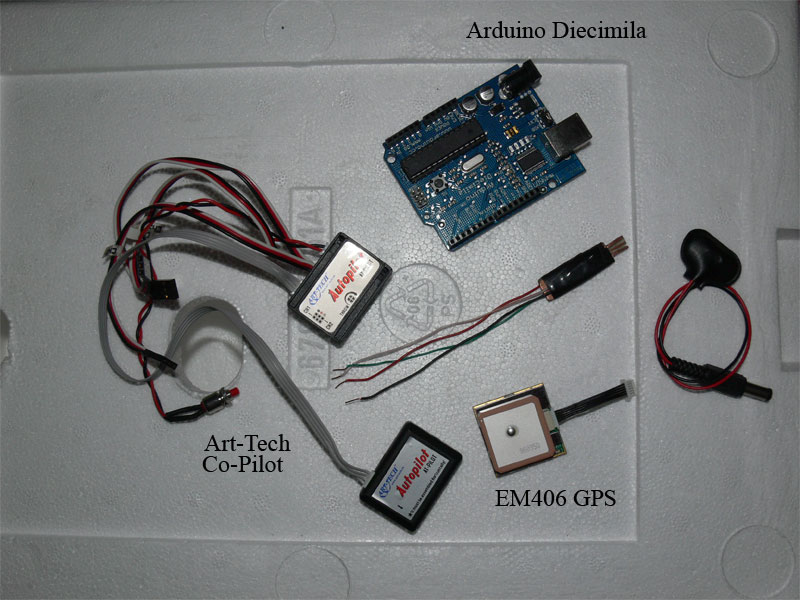 |
here you see the various electronics which i will use for flight control. an Arduino microprocessor and an em406 sirfIII gps for navigation, a 3ch Art-Tech co-pilot and its thermophile sensor for flight stabilization... |
| right is the video downlink system i will be using... a 1,6mile range video-audio from Range Video. the 8db patch antenna for the receiver lengthenes the receipt distance to 2,5-5 km if placed directionally seeing the plane... | 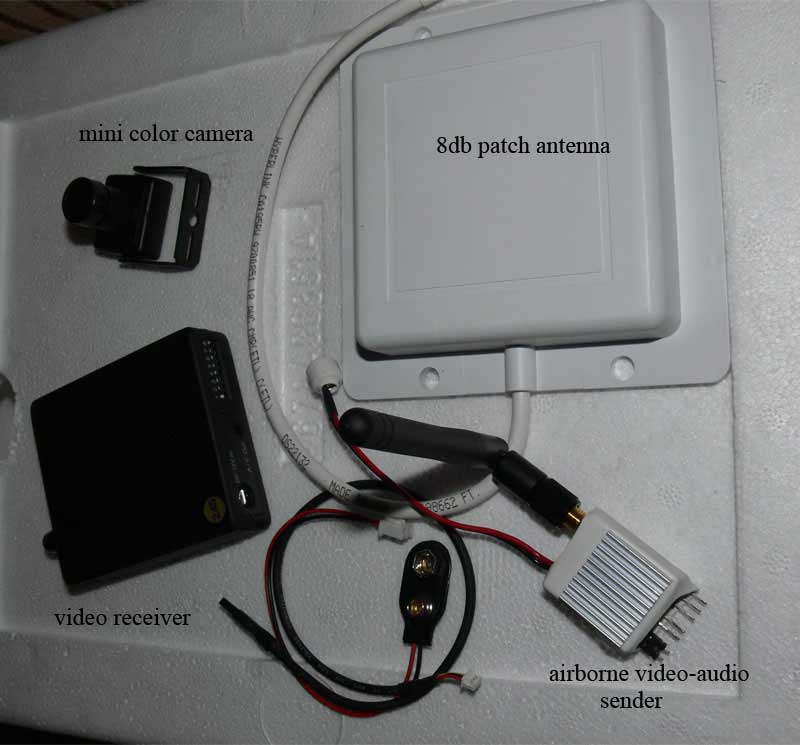 |
the saga continues... i am carrying out ground tests with the equipment and hoping to begin airborne tests before winter ...
Check my other robotics projects : HERE
- Solar bugs and other BEAM robotics...
- Wireless controlled robotic arm...
 |
 |
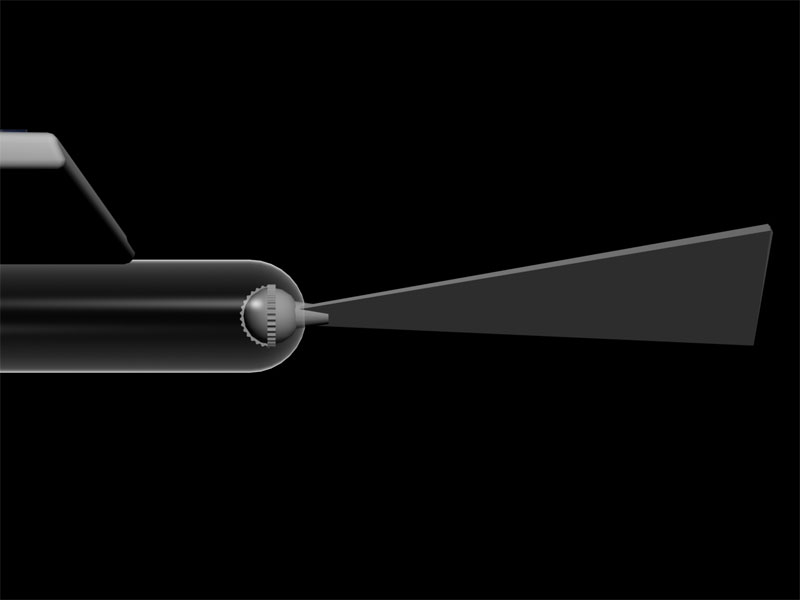 |
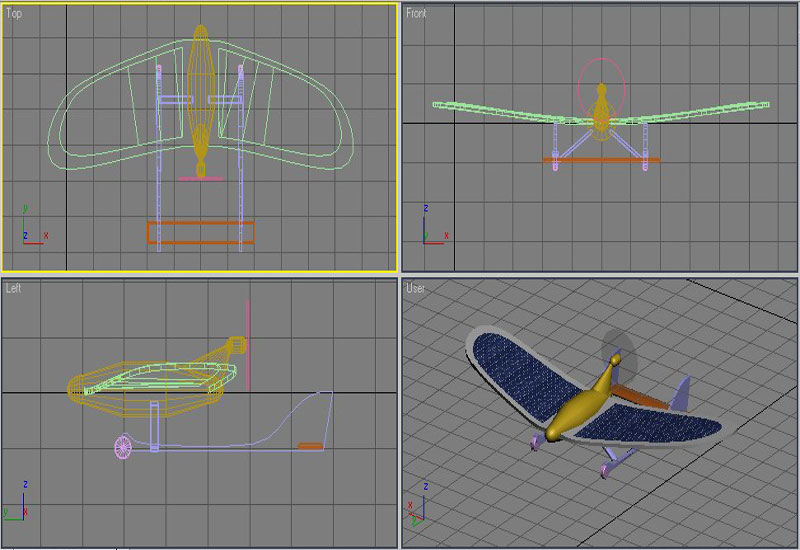
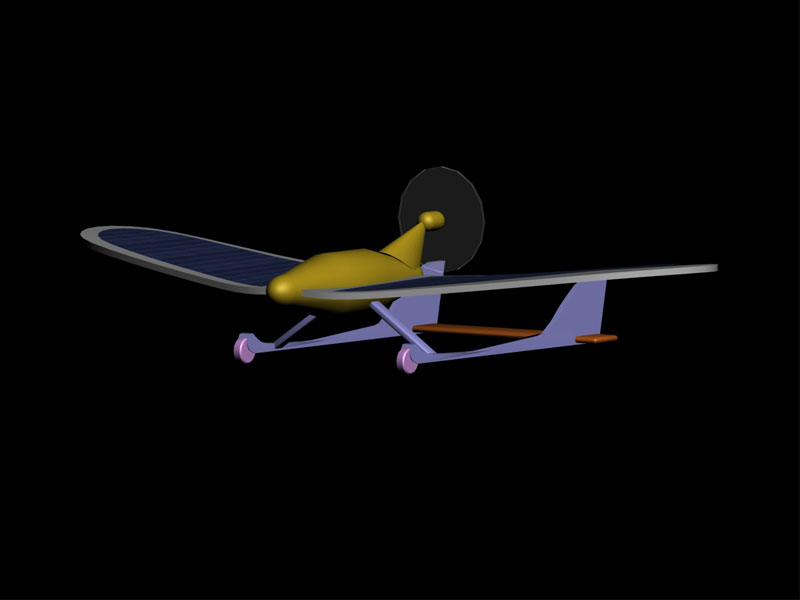
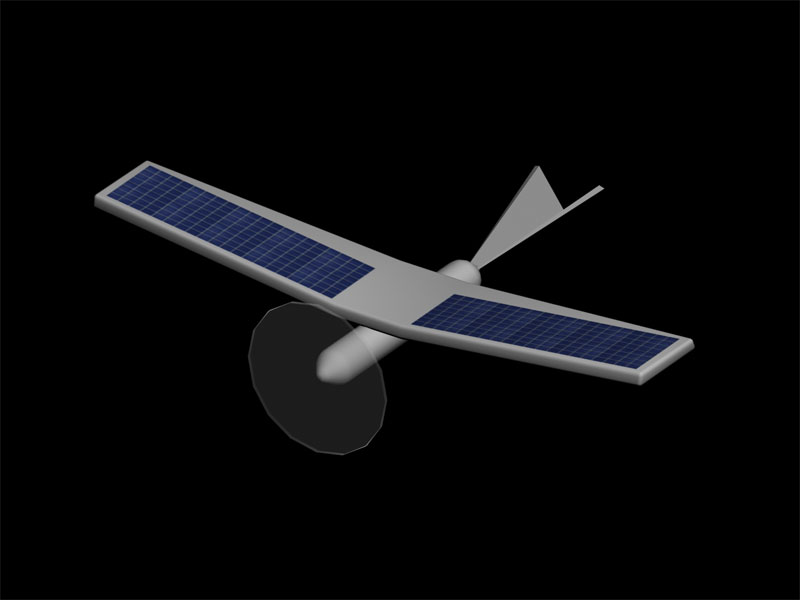
These are the possible future V2 and V3 version designs of Solar Falcon. V2 version has a tail steering system just like birds have. A geared knob at the tip of the v-tail will be rotated by servos actuating the whole tail in roll and elevation axes. V3 version is designed to be a pusher, steering is done by the rotatable motor-pod and steerable skid. Tail-skid system will carry out the stabilization whereas the motor-pod is rotated sideways by a servo inside the pod which will act as a rudder... |
 |
 |
please e-mail to me at dhepguler@hotmail.com